Create an Unlimited Monthly Wash Plan
Use these steps to create and configure a new unlimited monthly subscription wash plan that limits customers to 1 wash per day.
Requirements
The following information is required to create a new unlimited monthly wash plan.
- Terms and Conditions: Wash plan configuration requires terms and conditions of the plan for its members. Patheon does NOT provide default terms and conditions for wash plans. Organizations should consult a local attorney for a plan's terms and conditions.
Add a New Plan
- Log In to Patheon Portal.
- Select .
- Select Plans. The plan Management panel opens.
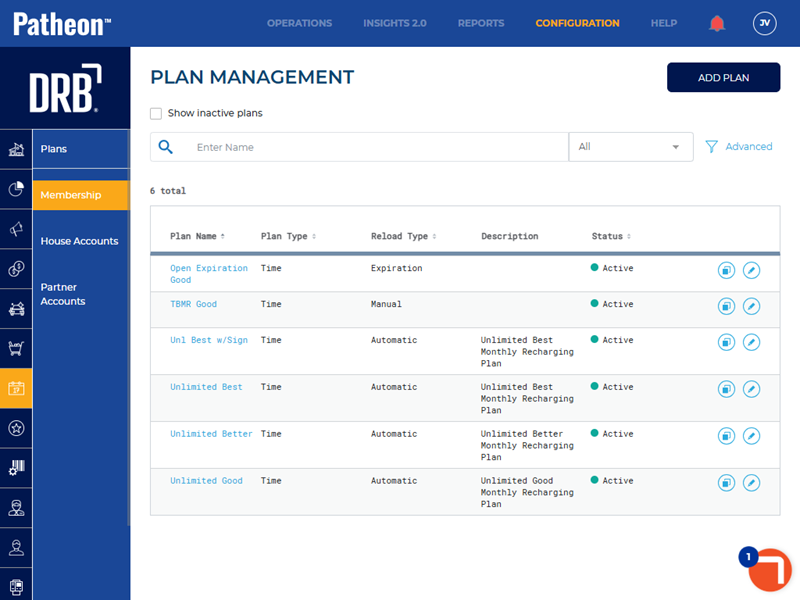
- Select . The Plan Details (General Settings) panel opens.
Configure General Settings
Use the Plan Details (General Settings) panel to configure the plan's type, reload method, name, description, reload timeframe, and terms and conditions settings.
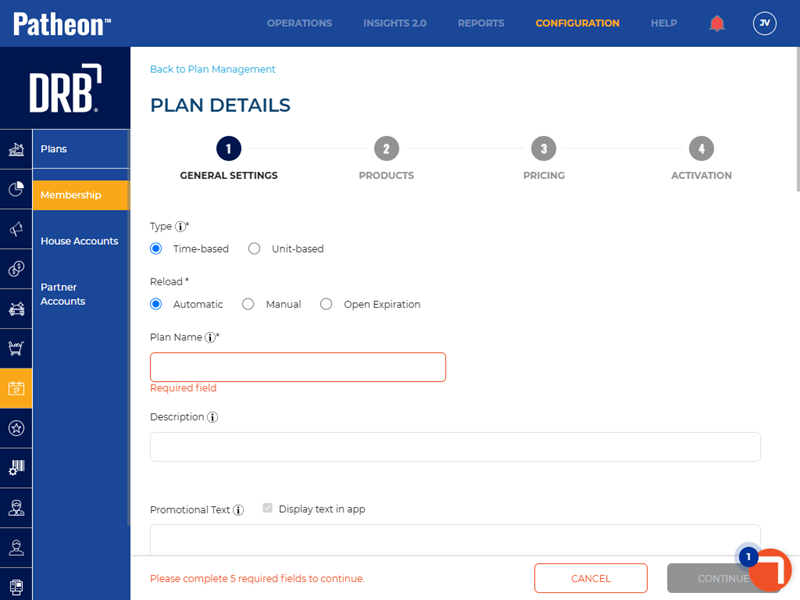
Type, Reload, and Name
- In Type*, select Time-based.
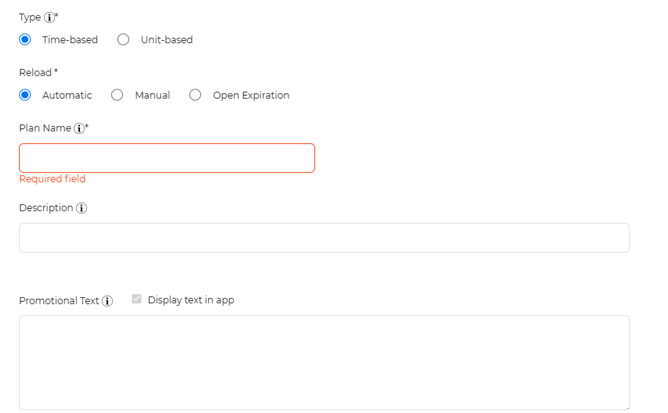
- In Reload*, select Automatic.
- In Plan Name*, enter the new plan's name, for example, Unlimited Good Wash Plan. This is the name displayed on kiosk terminals, cashier terminals, and reports.
- In Description, enter a summary of the plan, for example, 1 wash per day; recharges on the first of the month. Note: The description must be less than 200 characters.
- In Promotional Text, enter text to display as a red banner around the plan card on the Essential Web App (EWA), and then select Display text in app. Leave this blank if the plan won't be offered for sale from the EWA, or the banner text isn't desired. Note: This text is never displayed at cashier terminals or kiosk terminals.
Timeframe
- Navigate to the Timeframe section.
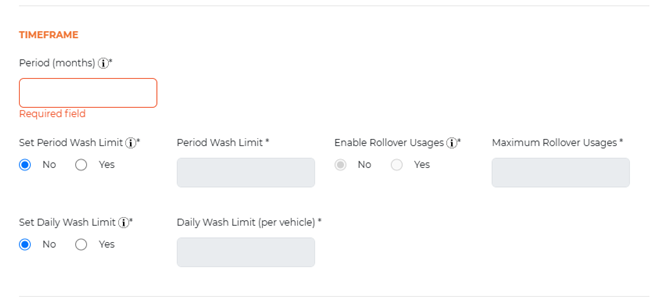
- In Period (months)*, enter 1. This makes it a monthly plan.
- Leave Set Period Wash Limit* set to No.
- In Set Daily Wash Limit* select Yes.
- In Daily Wash Limit (per vehicle)*, enter 1.
Reload Settings
- Navigate to the Reload Settings section.

- In Set Specific Date*, select Yes.
- In Reload Date*, enter 1. The plans will recharge on the 1st day of each month for all its members. Note: Plans can't be configured to reload on the 29th, 30th, or 31st day of a month.
- In Grace Period (days)*, enter the number of days a member can continue to receive a wash after their plan renewal is declined. For example, if a customer renewal is declined on the 1st day of a month and Grace Period (days)* is set to 3, the customer may continue to use the plan during this time. Set Grace Period (days)* to 0 to prevent the customer from using their plan until or unless it's successfully renewed.
- In Recharge Retry Period (days)*, enter the number of days the system will continue trying to renew a plan after its renewal is declined. For example, if a customer renewal is declined on the 1st day of a month and Recharge Retry Period (days)* is set to 10, the system will attempt to renew the plan once a day on the 2nd through the 11th day of the month. Set Recharge Retry Period (days)* to 0 to terminate a customer's wash plan if it is declined on its initial renewal attempt.
Members
- Navigate to the Members section.

- For Transfer Members, leave the toggle set to No if members of this plan are not being transferred to another plan or Yes to transfer members of this plan to another plan on each member's next individual reload. If Yes is selected, Target Plan* appears.
- For Target Plan*, select the plan members should be transferred to on each member's next individual reload.
Images
- Navigate to the Images section.
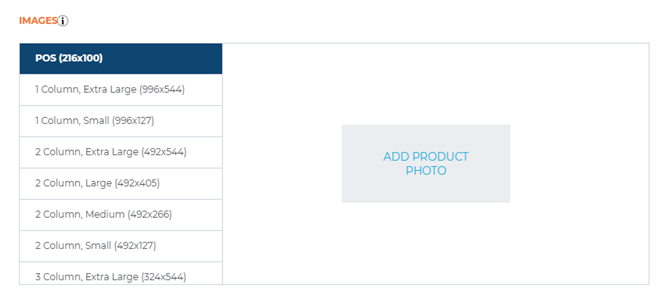
- Select and add a photo for each desired layout.
Terms and Conditions
- Navigate to the Terms and Conditions section.
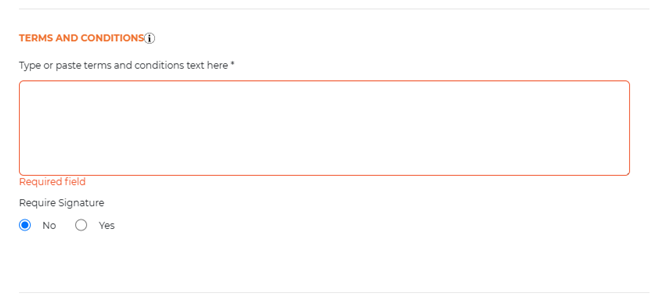
- Enter the terms and conditions for the plan. Important: DRB does not provide default terms and conditions. Consult a local attorney for assistance.
- In Require Signature*, select Yes if the customer must provide a signature, or No if the customer doesn't have to provide a signature.
Visibility
- Navigate to the Visibility section.

- Select Visible via direct link only (EWA), if this plan can only be viewed and purchased by a direct link to it in the EWA.
- In Show on POS and Kiosk Staff Screen, select Yes to make the plan available to purchase from a cashier terminal or kiosk terminal.
- Select . The Plan Details (Products) panel opens.
Configure Products
Use the Plan Details (Products) panel to configure the plan's redemption wash(es) and any included a la carte service(s).
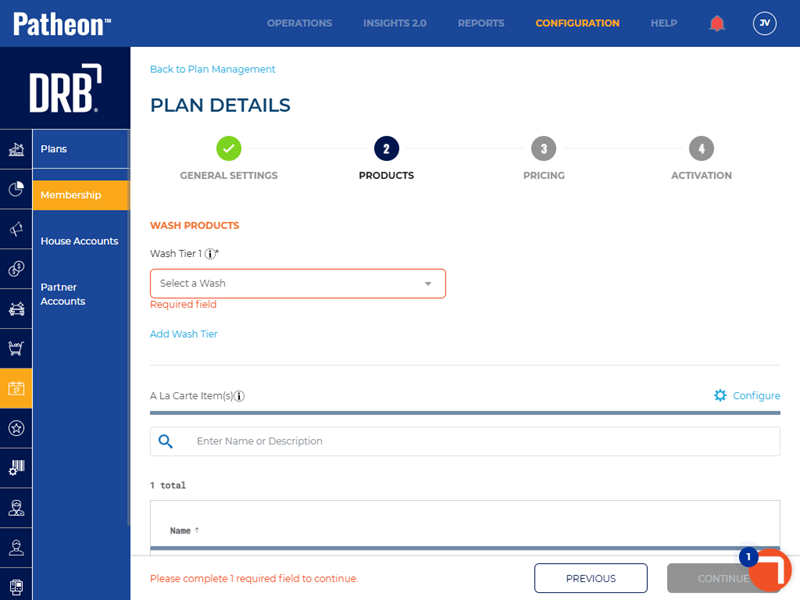
Wash Products
- Navigate to the Wash Products section.
- In Wash Tier 1*, select Good Wash from the drop-down. Note: The drop-down only lists wash products.
- Multi-site organizations that don't offer the same wash at all sites can select Add Wash Tier and select a second wash for Wash Tier 2*. For example, if 7 of 10 sites at a multi-site organization offer a Good Wash and the other 3 sites offer a Bronze Wash instead, configure Tier 1 for Good Wash and add and configure Tier 2 for the Bronze Wash; then, all plan members will receive the wash that's available at the location they visit.
A La Carte Item(s)
- If the plan includes an a la carte item, locate it in the list.
- Select the add icon (
 ) for the corresponding item. The quantity is set to 1.
![]()
- Adjust the quantity as necessary.
- Add additional a la carte items as necessary.
- Select . The Plan Details (Pricing) panel opens.
Configure Pricing
Use the Plan Details (Pricing) panel to configure the plan's price, tax, termination, and refund settings.
Tax Settings
- Navigate to the Tax Settings section.

- In Apply Tax Code(s)*, select Yes to automate tax applicability and rates through the Avalara AvaTax calculation system or No to specify a manual number.
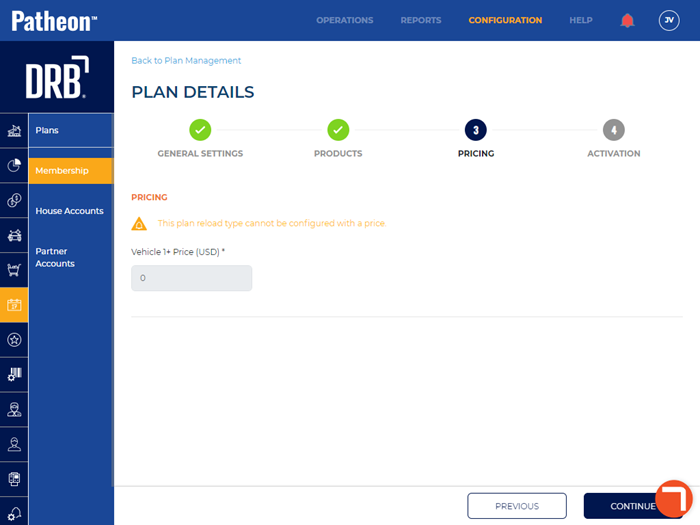
Pricing
- Navigate to the Pricing section.
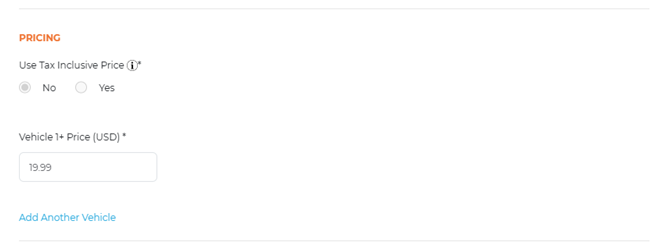
- In Use Tax Inclusive Price*, select Yes to include tax calculation into the plan price entered in the Vehicle 1+ Price field or No for tax to be calculated in addition to the price entered in the Vehicle 1+ Price* field.
- In Vehicle 1+ Price (USD)*, enter the price of the wash.
- Select Add Another Vehicle to enter the price of the wash for a second vehicle if this is available for this plan.
Termination Fee
- Navigate to the Termination Fee section.
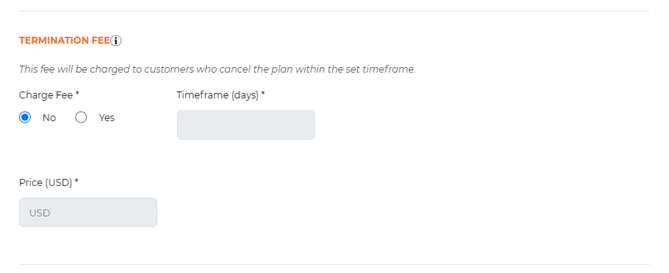
- In Charge Fee*, select Yes to charge an early termination fee or No, if no fee is charged.
- In Timeframe (days)*, enter the number of days from a customer's new plan activation during which they can cancel without incurring a fee. For example, if a customer terminates their plan within 7 days of activating it, they will be charged a fee.
- In Price (USD)*, enter the price of the termination fee.
Prorated Refund
- Navigate to the Prorated Refund section.

- In Allow Prorated Refunds*, select No or Yes.
- Select . The Plan Details (Activation) panel opens.
Configure Activation
Use the Plan Details (Activation) panel to configure the sites where the plan is available and then activate it.
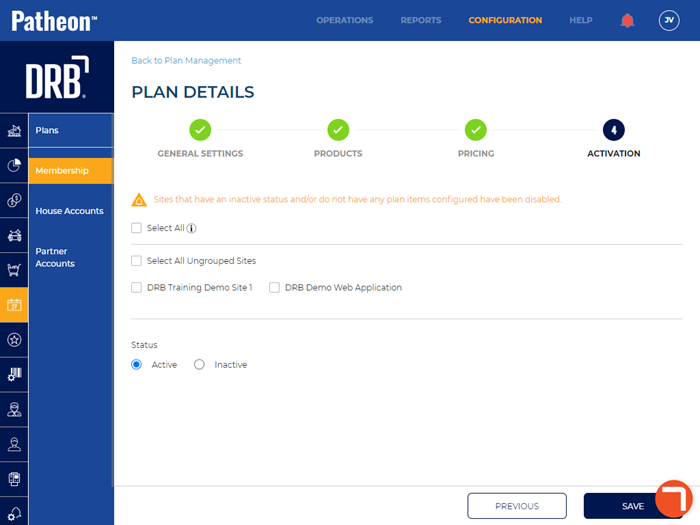
- Select the site groups and/or individual sites from which this plan can be purchased and redeemed.
- In Status, select Active.
- Select .