Add an Email Address Screen to Kiosk Workflow
Use these steps to add an email address screen to the kiosk workflow. This screen prompts customers to enter their email address during plan signup, allowing the site to collect email information for promotional purposes.
Tools Required
These features must be enabled before you can configure a kiosk flow including the email address screen. Contact DRB to enable these features.
- Customer Notifications
- Email Notifications
Steps
Use the following steps to add the email address screen to a kiosk workflow.
Edit Kiosk Workflow
Use these steps to edit the workflow for which the Email Address screen should be added.
- Log In to Patheon Portal.
- Select Sites. The site details panel opens.
- Select Kiosks. The flows list panel opens.
- Navigate to the flow where the Email Address screen should be added.
- Select
 (edit). The edit flow (1 build flow) panel opens.
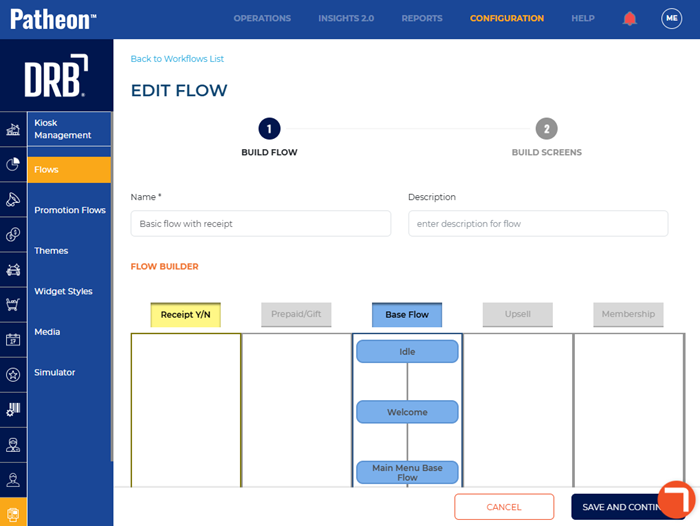
- Select . The edit flow (2 build screens) panel opens.
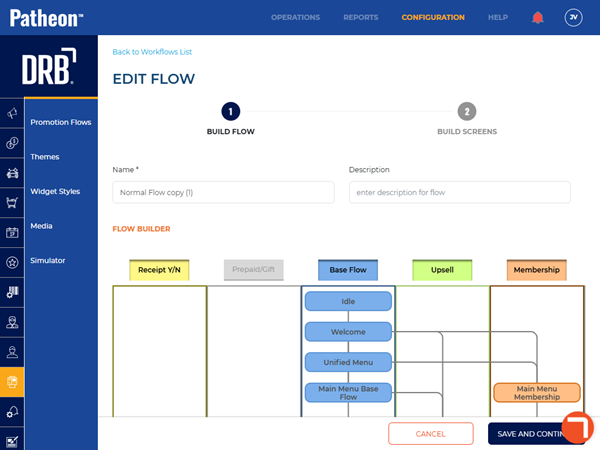
- Navigate to Email Address.
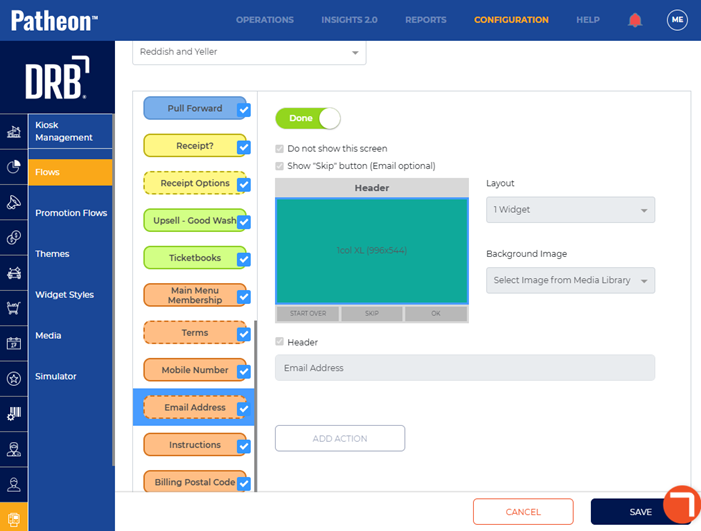
- Select Email Address. The Email Address screen opens.
Configure Email Address Screen
Use these steps to configure the Email Address screen. Note: This screen can only have 1 Widget, and the layout cannot be changed.
- Select the Done widget. The widget changes to WIP, which allows you to edit the Email Address screen.
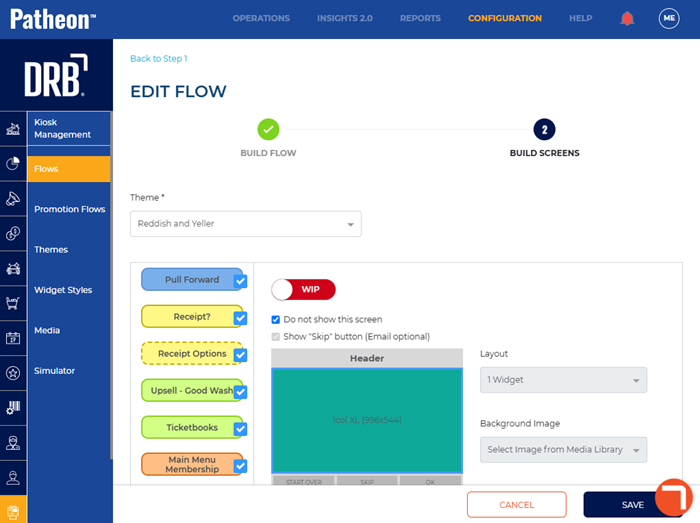
- Uncheck Skip this screen.
- To require an email address, uncheck Show "Skip button (Email optional) or leave checked to make the email address optional.
- In Background Image, you can select Select Image from Media Library to upload an image from your device or you can select one of the available background images.
- To add audio to the screen, select . The action options open.
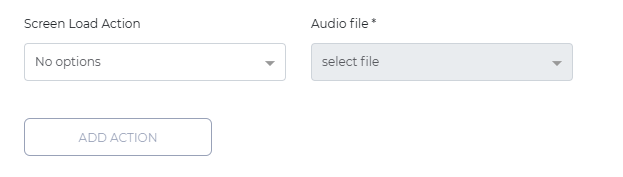
- In Screen Load Action, select Play Audio.
- In Audio file*, select th audio file that should play when the screen loads.
- When you are done configuring the screen, select the WIP toggle. The toggle changes to Done.
- Select .
Publish Flow
Use these steps to publish the updated flow.
- Log In to Patheon Portal.
- Select Kiosks. The flows list panel opens.
- Select the name of the flow from the flow list. The flow details panel opens.
- Next to , select (edit). The activated sites panel opens.
- Select all the sites for which the flow should be available. Note: This does not assign the flow to the sites, it just makes the flow available to the selected sites.
- Select . The Are you sure? dialog opens.
- Select . The flows list panel opens.
Assign Flow to Sites
Use these steps to assign the newly published flow to specific sites.
- Log In to Patheon Portal.
- Select Sites & Groups. The sites panel opens.
- Select the site where the flow should be assigned. The site details panel opens.
- Select Kiosk Management. The kiosk list panel opens.
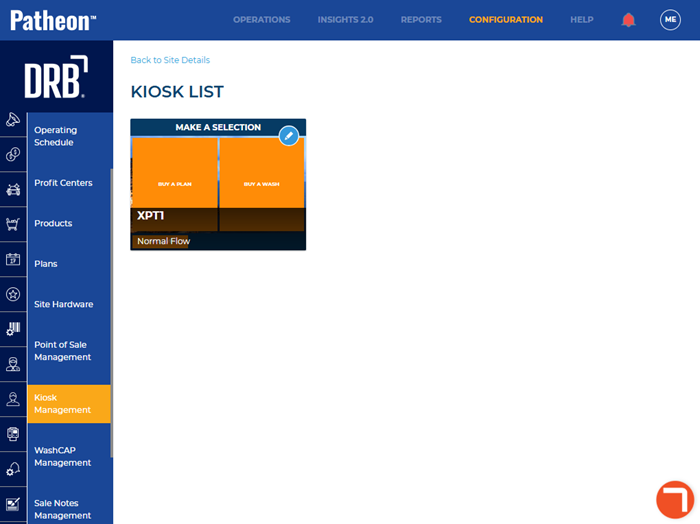
- Select (edit) next to the kiosk. The kiosk details panel opens.
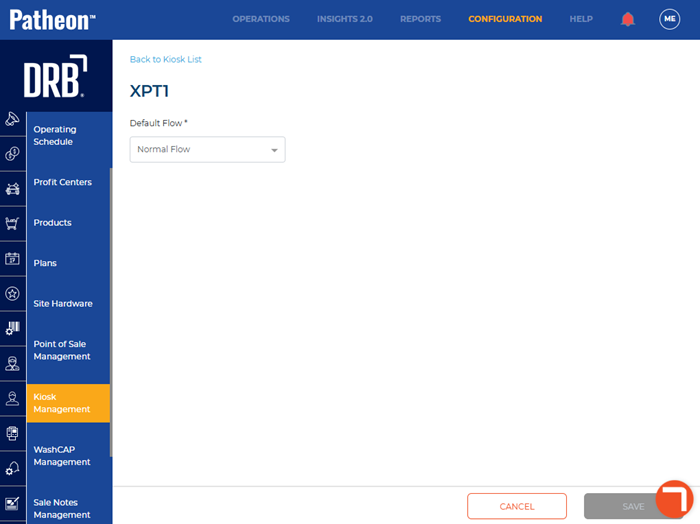
- In Default Flow*, select the flow you want to assign. The Are you sure? dialog opens. Note: The flow must be assigned not only to each site, but to every XPT within the Kiosk Flow section. This may require multiple assignments per site.
- Select . The workflow syncs to the site. Note: It takes a minimum of 60 seconds to sync to a live site.