Generate the XPT Cash Audit Report
Use these steps to generate the Patheon XPT Cash Audit Report. This report displays the cash activity (money removed from acceptors, money removed from dispensers, money added to the dispensers, money paid in to acceptors, change returned by dispensers, and over/short balances) for kiosk terminals. The activity is reported for individual kiosk terminals, as well as the total of all kiosk terminals in the report. It can be generated for a single site, multiple sites, a site group, or multiple site groups.
- Log in to Patheon Portal.
- Select Reports. The Financial Reports panel opens.
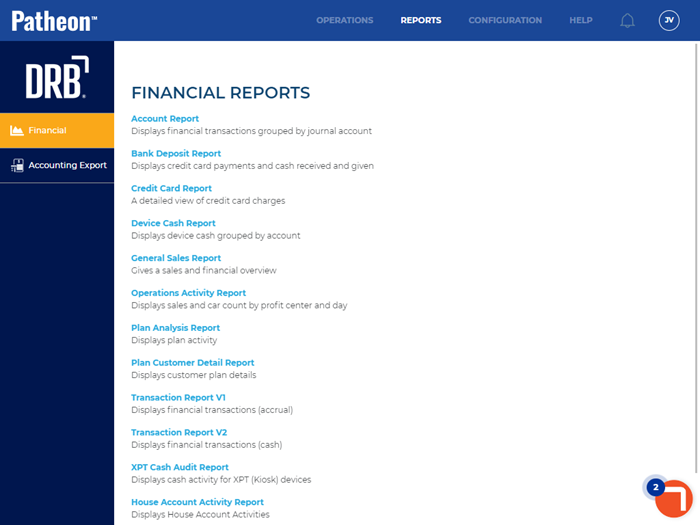
- Select XPT Cash Audit Report. The Preview Parameters section of the XPT Cash Audit Report panel opens.
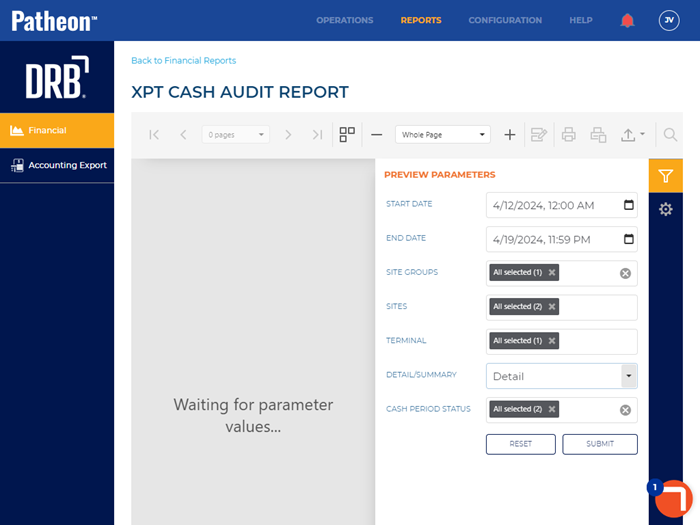
- In START DATE, select the opening date and time range for the report. By default, the field is set to 1 week (7 days) prior to the current date, 12:00 AM.
- In END DATE, select the closing date and time range for the report. By default, the field is set to the current day, 11:59 PM.
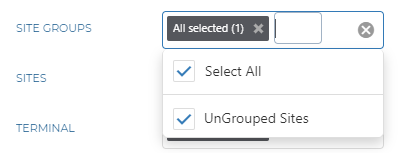
- In SITE GROUPS, select the site group(s) to include. All groups (default), select multiple groups, one group, or no groups can be selected. Important: The site group(s) selected here control which site(s) can be selected in SITES.
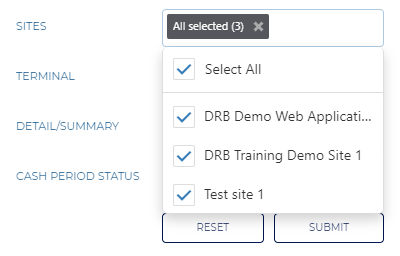
- In SITES, select the site(s) to include. All sites (default), select multiple sites, or one site can be selected. Important: Only sites that belong to the site group(s) selected in SITE GROUPS can be selected.
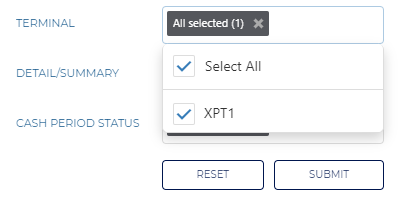
- In TERMINAL, select the terminal to include. All terminals (default), select multiple terminals, or one terminal can be selected. Important: Only terminals that belong to the site selected in SITES can be selected.
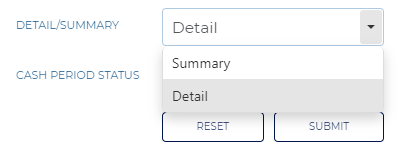
- In DETAIL/SUMMARY, select the amount of data to include. Select Summary to list each transaction, but hide the details of each transaction, or Detail to display the contents of each specific transaction.
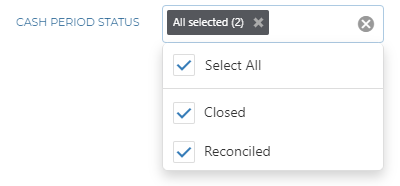
- In CASH PERIOD STATUS, select the cash period data to include. All cash periods (default), Closed (cash transaction session was closed), or Reconciled (staff manually recorded an ending cash balance) can be selected.
- Select . The report generates for the provided parameters. Tip: Select the Preview Parameters icon to close the section and expand the report to the full panel.
- To generate the report with different parameters, open the Preview Parameters section, enter new parameters, and select .