Change RFID Reader Settings from a Cashier Terminal
Use these steps to change and test the settings for an RFID reader from the Hardware panel of the cashier terminal to which it is connected, for example, at a member's lane (semi-attended).
Note: The settings are only available if an RFID reader is configured for the terminal, and only that RFID reader's settings can be changed; settings for RFID readers connected to other terminals at the site must be changed from those terminals. Additionally, if an RFID isn't configured for a cashier terminal, the Hardware panel doesn't display RFID reader settings.
- Log in to the cashier application.
- Select Hardware. The Hardware panel opens.
- Navigate to the RFID Reader section.
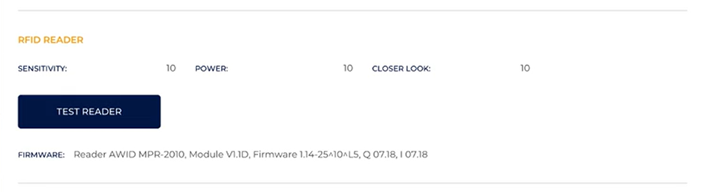
- Select . A Test RFID Reader dialog opens, and the RFID reader is on and active.
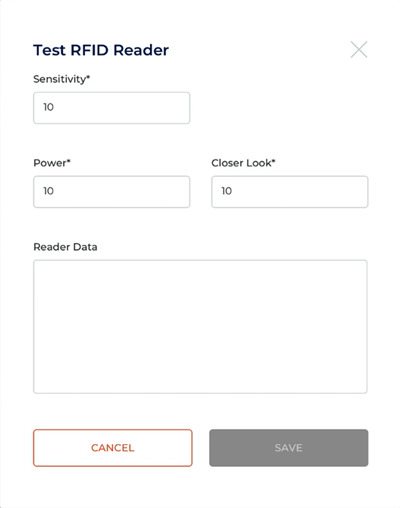
- In Sensitivity*, enter a value between 1-10.
- In Power*, enter a value between 1-10.
- In Closer Look*, enter a value between 1-10 to enable the Closer Look feature, which can be used to troubleshoot and resolve cross-lane read issues. When enabled, it will trigger a second RFID read attempt once the vehicle is closer. Note: Enter a 0 (zero) to disable the Closer Look feature.
- In Duration*, enter a value between 5-30.
- Select . The changes are saved and the dialog remains opens.
- Scan an RFID tag to test the new settings. The Reader Data section displays the tag data, with a date and timestamp.
- Adjust the settings and test as necessary.
- After the desired settings are saved, select . The dialog closes.