Add a Kiosk Personalized SMS Opt-In Screen
Use the steps below to create a kiosk workflow that provides an SMS text message opt-in screen for customers to sign up to receive SMS text messages. Consent status will allow promotional messages to be sent via Catalyst. SMS consent status notices can also be added to the SMS opt-in screen.
Note: Any widgets added to this screen will have no action assigned and may only be used for images and background options.
See Kiosk Personalized Promotions to learn more about kiosk terminal personalized promotions.
Tools Required
- License plate recognition
- Kiosk terminal(s)
- Patheon Promotion Flows feature enabled. This feature is enabled by default for all organizations with license plate recognition.
- Catalyst
Create a Segment
Use these steps to create a segment for the SMS Opt-In screen.
- Log In to Patheon Portal.
- Select Segments. The segments panel opens.
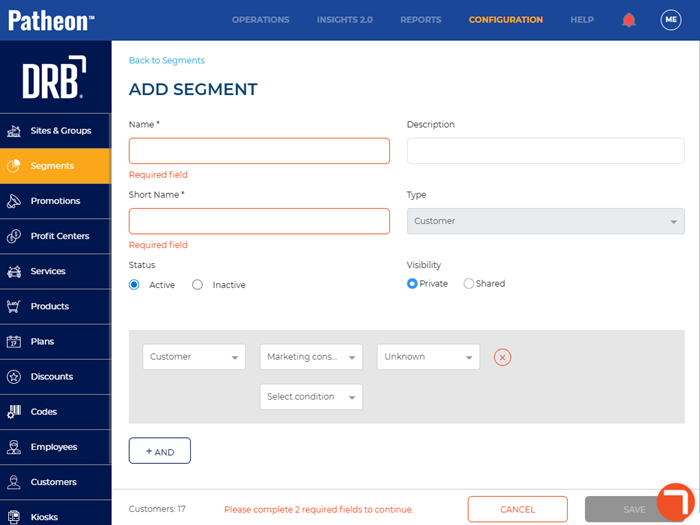
- Select . The add segment panel opens.

- In Name*, enter a name for the segment, such as SMS Opt-In.
- In Short Name*, enter a shorter unique name to identify the segment, such as SMS. Note: Max length is 16.
- In Select rule, select Customer. The Select condition box opens.
- In Select condition, select Marketing consent. The Unknown box opens and Unknown is the default option.
- Leave Unknown selected.
- Select . The segments panel opens and the new segment appears in the Segments list.
Create SMS Opt-In Screen
Use these steps to create an SMS Opt-In screen.
- Log In to Patheon Portal.
- Select Kiosks. The flows list panel opens.
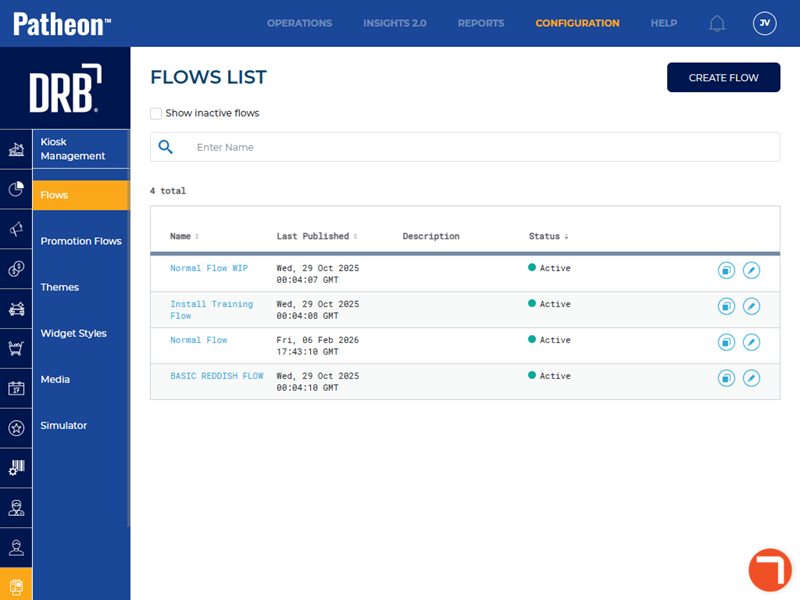
- Select Promotion Flows. The promotions flow panel opens.
- Select . The create flow panel opens.
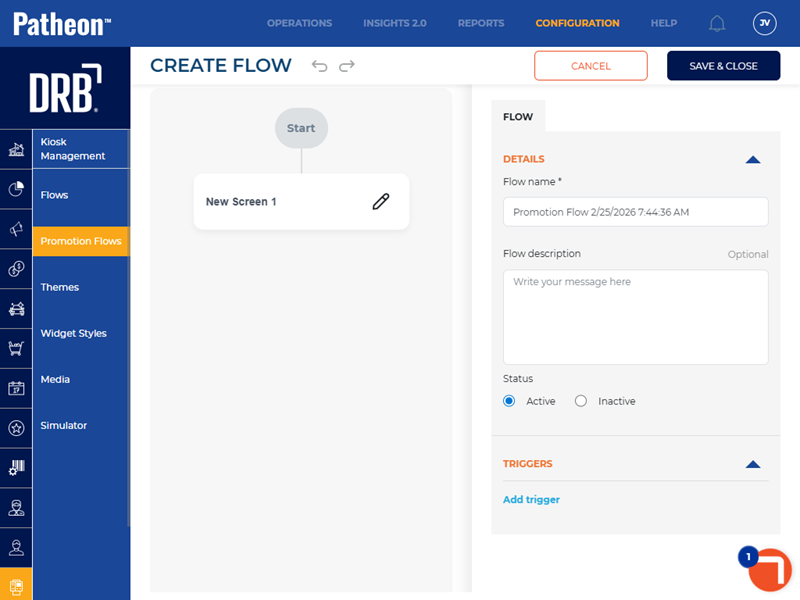
- In Flow name*, enter the flow name, such as SMS Consent.
- From the triggers section, select Add trigger. The Select Trigger* option opens.
- From Select Trigger*, select the trigger that was created for existing customers.
- Select Add trigger. The Select Trigger* option opens.
- From Select Trigger*, select the trigger that was created for new customers.
- Select edit (
 ) next to New Screen 1. The New Screen 1 box opens.
 - In Screen name*, enter the name of the screen, such as, SMS Consent.

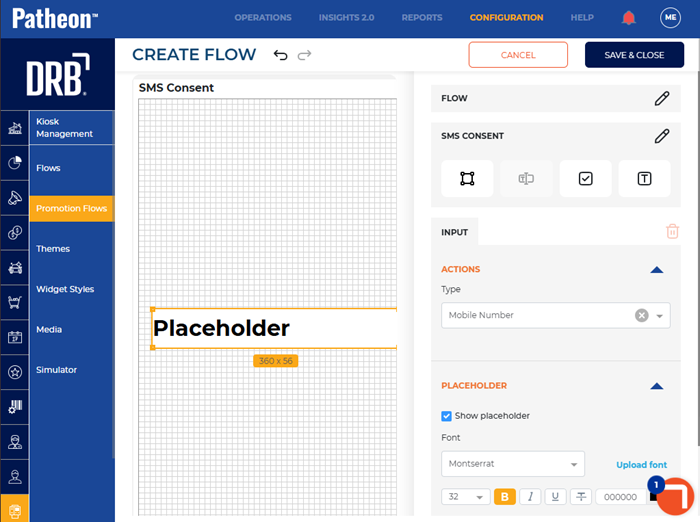
- From Screen type, select Form. A Placeholder displays on the screen and the input tab opens.
- From Type, select Mobile Number. The and functions display on the screen and the widget tab opens. Note: The and functions both automatically navigate to the Payment flow and that cannot be changed. The function will be disabled until a phone number and optional consent status is provided.
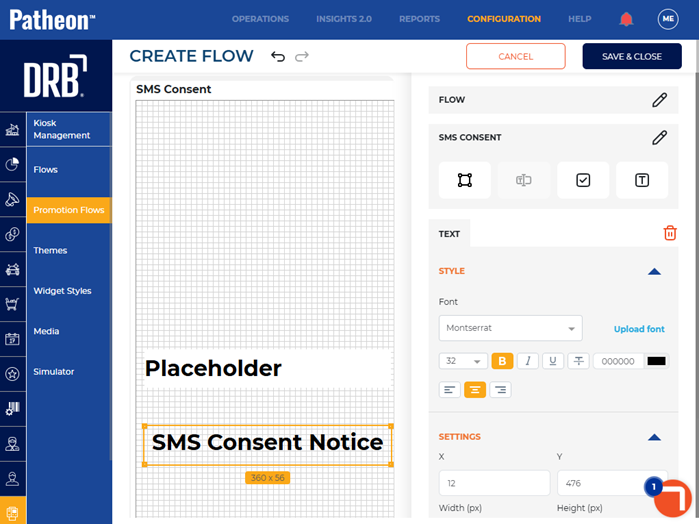
Add SMS Consent Status Notices
Use these steps to add an SMS consent status notice to the SMS Opt-In screen.
- Select the Placeholder on the SMS Opt-In screen. The Input tab opens.
- Select the text box (
 ) tool. A text box displays on the SMS Opt-In screen.
 - Select the text box and move it to desired location on the screen.
- Double click in the text box to add desired text. Note: Use the style section to change the font and color of the displayed text.
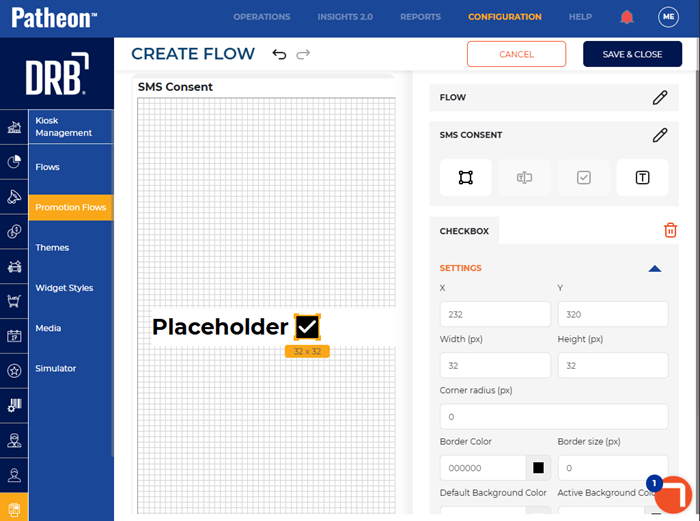
Add Checkbox
Use these steps to add a checkbox to the SMS Opt-In screen for customers to select when agreeing to the consent status notice.
- Select the checkbox (
 ) tool. A checkbox displays on the SMS Opt-In screen.
 - Select the checkbox and move it to desired location on the screen. Note: Use the settings section to change the appearance of the checkbox.
- Select . The promotions flow panel opens and the SMS Opt-In screen displays in the Flows list.
Create Triggers
Use these steps to create triggers for the SMS Opt-In screen. Two triggers will need to be created - one for existing customers and one for new customers.
Create Existing Customers Trigger
- Log In to Patheon Portal.
- Select Kiosks. The flows list panel opens.
- Select Promotion Flows. The promotion flows panel open.
- Select Triggers. The triggers panel opens.
- Select . The create trigger panel opens.
- In Name*, enter the trigger name, such as SMS Opt-In for Existing Customer.
- In Type, select Pre-payment.
- In Audience, select Existing customers.
- From the conditions section, select Segment. The Segment section opens.
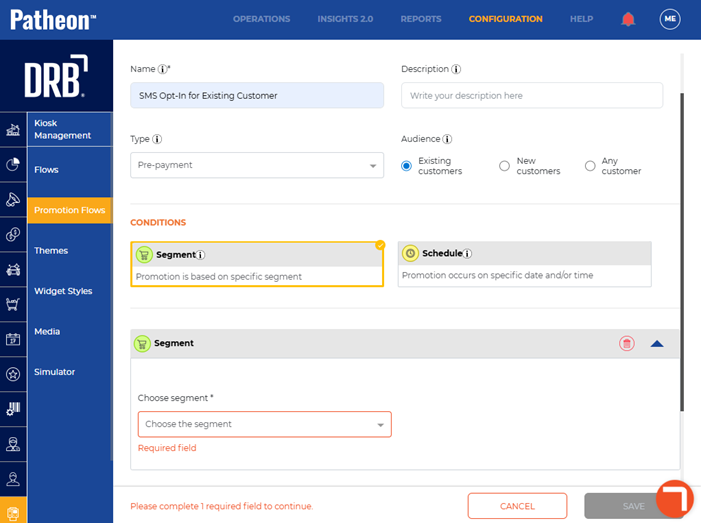
- In Choose segment*, select the segment that was created for SMS Opt-In.
- Select . The triggers panel opens and the new trigger appears in the Triggers list.
Create New Customers Trigger
- Log In to Patheon Portal.
- Select Kiosks. The flows list panel opens.
- Select Promotion Flows. The promotion flows panel open.
- Select Triggers. The triggers panel opens.
- Select . The create trigger panel opens.
- In Name*, enter the trigger name, such as SMS Opt-In for Existing Customer.
- In Type, select Pre-payment.
- In Audience, select New customers.
- From the conditions section, select Segment. The Segment section opens.
- In Choose segment*, select the segment that was created for SMS Opt-In.
- Select . The triggers panel opens and the new trigger appears in the Triggers list.
Publish SMS Opt-In Screen
Use these steps to publish the SMS Opt-In screen to the kiosk(s).
- Log In to Patheon Portal.
- Select Kiosks. The flows list panel opens.
- Select the SMS Opt-In screen from the Flows list. The workfloW Overview panel opens.
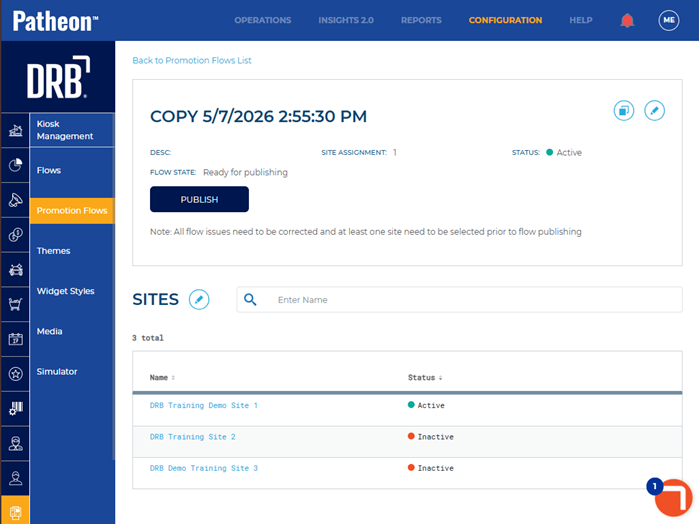
- Select the edit icon next to SITES. The activated sites panel opens.
- Select the sites for which the screen should be available.
- Select . The activated sites panel opens and the screen is activated for the selected sites.
- Select . The screen is published to the selected sites.