Enable + Configure Customer Receipt SMS Text
Use these steps to enable the Payment Succeeded SMS text customer transaction notification and configure either a default message or custom message. This customer notification provides a receipt to plan members when their plan renews, and any other customers when they tender a sale with a payment card saved to their profile in Patheon. Note: A customer email receipt can also be enabled and configured. An organization can provide only SMS text receipts, only email receipts, or both.
Important: Email and/or SMS text transaction notifications must be activated for a site. Existing Patheon users can complete the online Patheon Transactional Customer Notification Questionnaire to begin the activation process. The DRB Data Solutions team will follow up with you after they receive it.
Available Resources
Sites can configure the Payment Succeeded SMS text message text with provided default text or their own text. Variables are also available to help personalize the message.
Default Message*
The following default Message* text is provided for the Payment Succeeded SMS text notification.
{{receipt_link}} Thank you! A successful payment was made to {{client_name}}. Click the link to view your receipt.
Variables
The following variables are available to customize Payment Succeeded SMS text Message* text.
- {{client_name}}: The client organization's name, for example, Northcoast Car Wash.
- {{customer_fname}}: The email recipient's full name, for example, Jane Smith.
- {{ewa_link}}: A link to the site's EWA application, for example, https://nccwoh.patheon.com.
- {{receipt_link}}: A link to the SMS text recipient's receipt.
- {{site_address_line1}}: The site's line 1 address (street address), for example, 3245 Main St.
- {{site_address_line2}}: The site's line 2 address (city, state and postal code), for example, Akron, Ohio 44312.
- {{site_phone}}: The site's phone number, for example, (123) 1234-567.
Enable Payment Succeeded SMS
- Log in to Patheon Portal.
- Select Configuration.
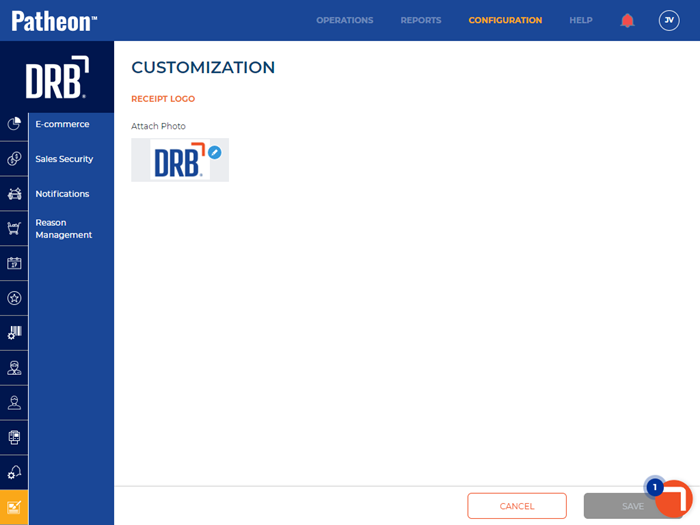
- Select Customization. The Customization panel opens.
- Select Notifications. The Notifications panel opens.
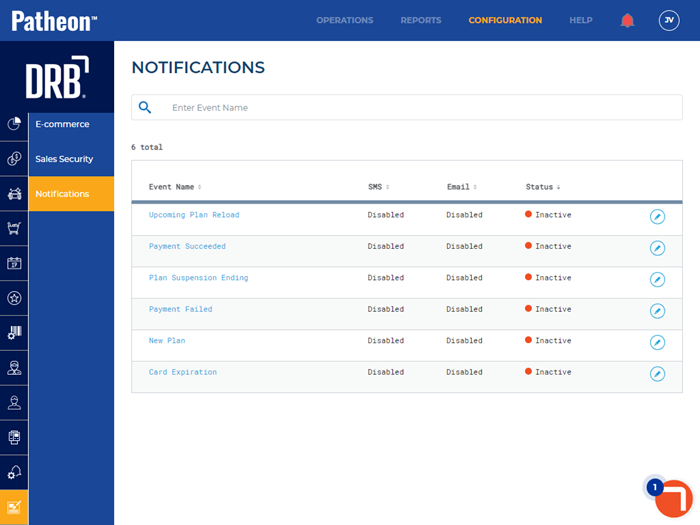
- Select edit (
 ) for the Payment Succeeded notification. The Payment Succeeded panel opens.
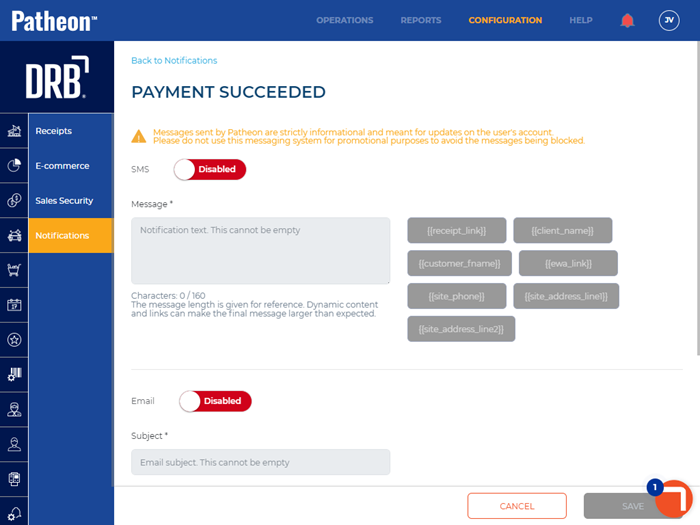
- Set SMS to Enabled. The Message* field is enabled.
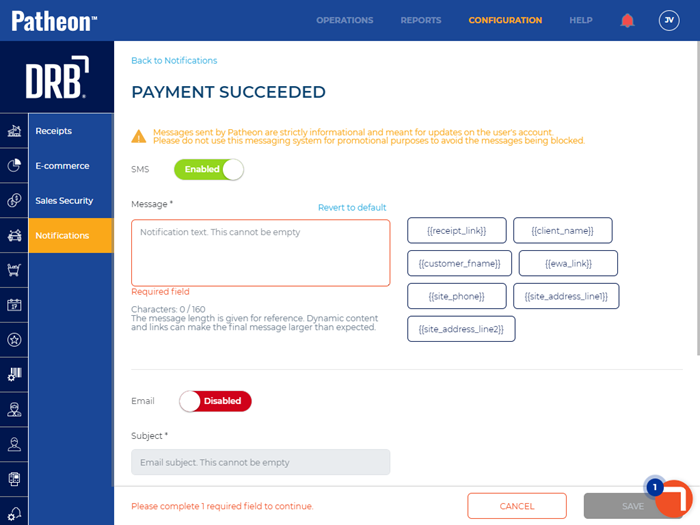
Configure Message*
- Select Revert to default to use the default Message* text.
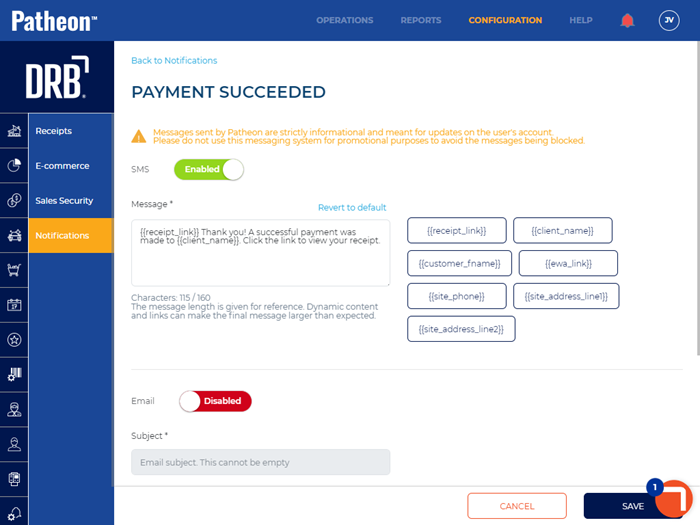
- Use the provided default Message* text, or modify it. To insert a variable, place the cursor in the field and select the variable tag.
- Important: Enter up to 160 characters. The message length is given for reference. Dynamic content and links can make the final message larger than expected.
Activate Notification
- Navigate to Status*.

- Set Status* to Active.

- Select . The changes are saved.